Lapvio gives coaches a home: a public profile drivers discover, plus everything you need to sell your coaching and get paid. This chapter is the map. How to become a coach, what's in your toolkit, and the order to set it up.
Become a coach
Open My coaching in your dashboard sidebar and fill in the short application: a few lines about yourself, how long you've been coaching, where you're based, a contact email, and your website or socials. Tick the coach terms and Submit application.
- Go to
/dashboard/coaching(it's "My coaching" in the dashboard sidebar). - Write a short intro. The circuits or regions you teach at and what a session with you is like.
- Add your years coaching, country, and a contact email.
- Agree to the coach terms and tap Submit application.
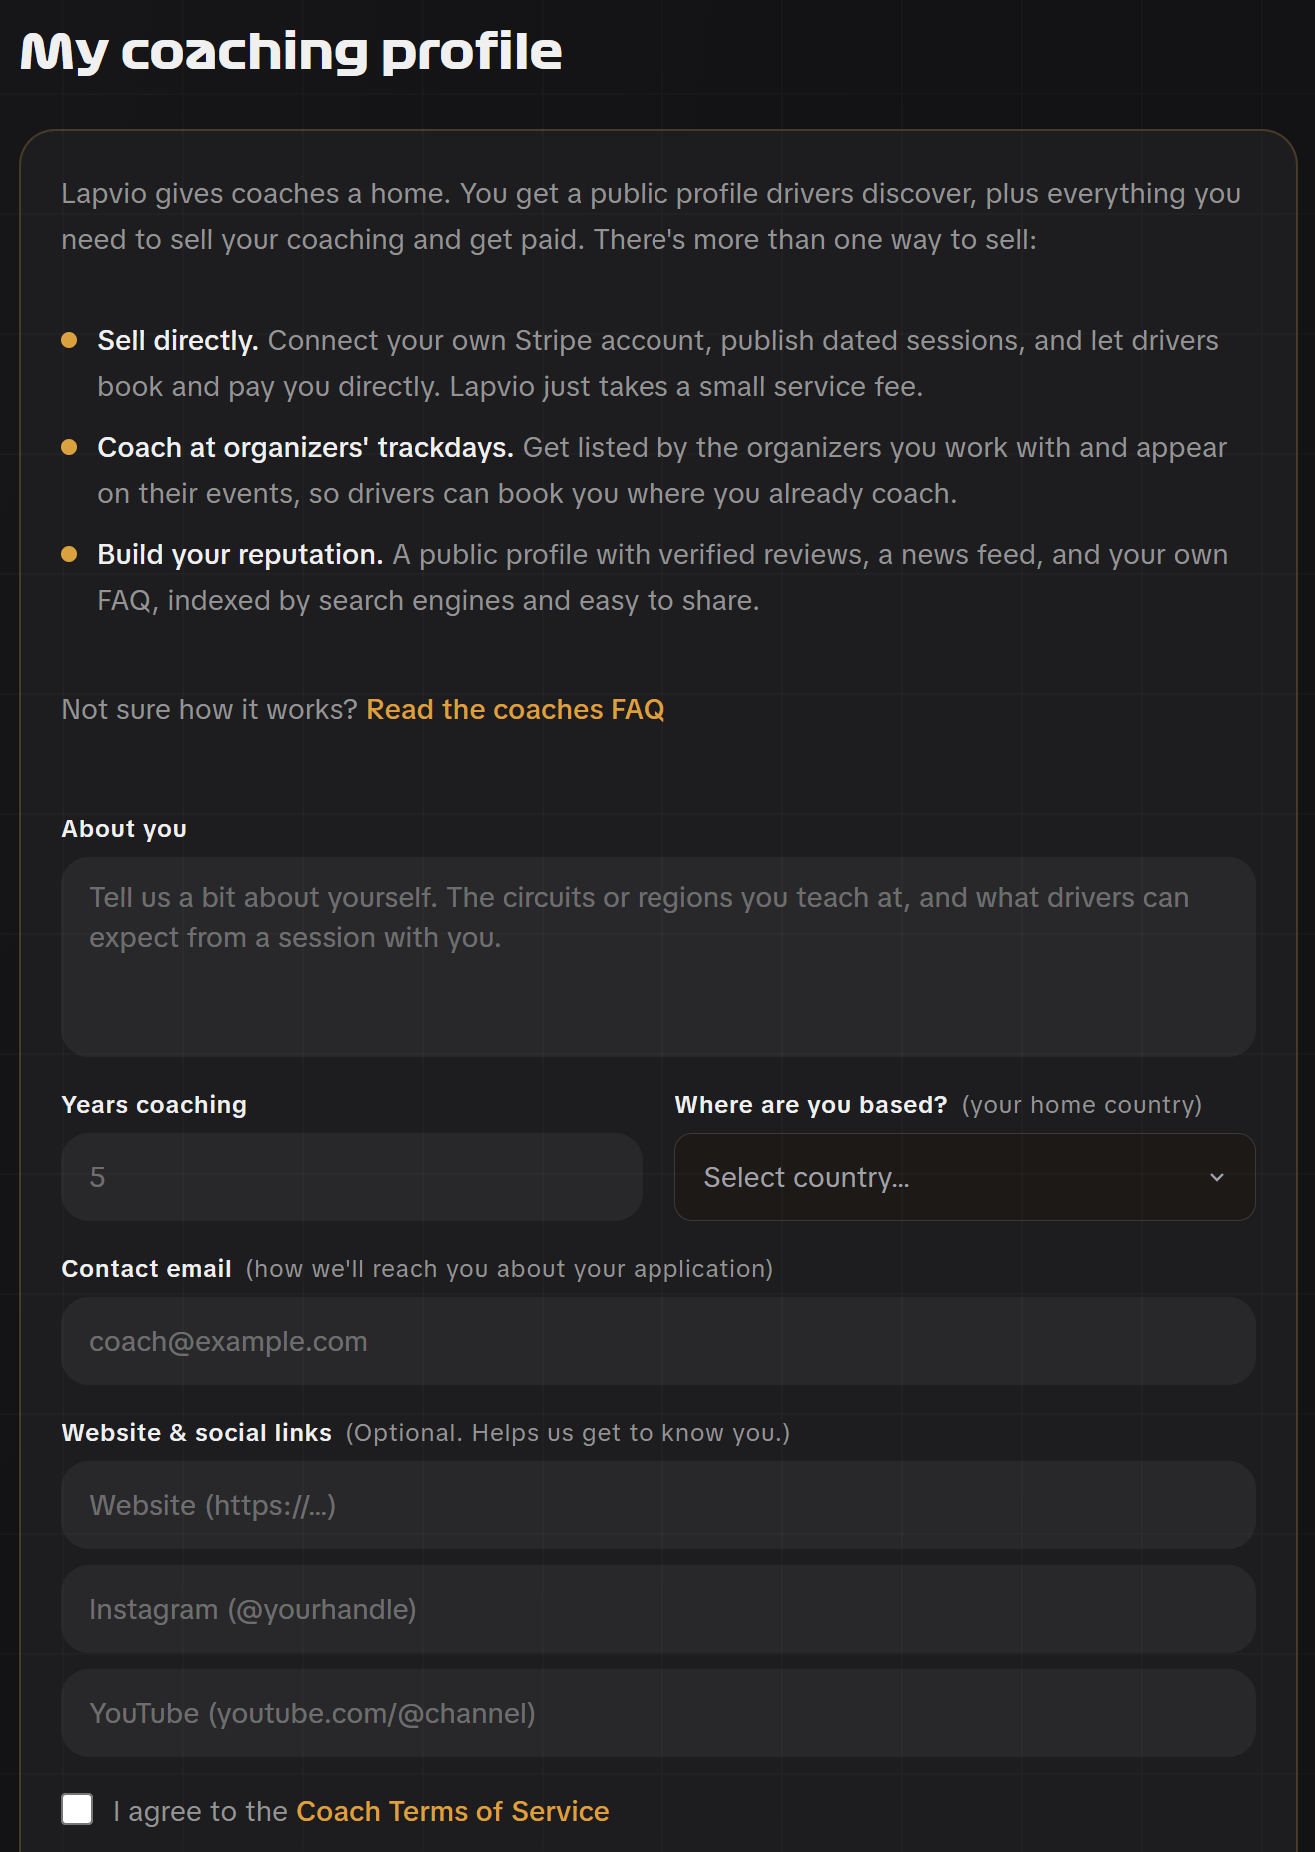
After you submit, you'll see Application under review. The Lapvio team checks it over and emails you the moment your profile is approved. Once it's active, the full workspace opens up.
Three ways to sell
You don't have to do everything to start. Coaches can sell directly (connect Stripe and publish dated sessions), coach at organizers' trackdays (get listed on events you already work), and build their reputation (a public profile with reviews, a feed, and an FAQ). Pick what fits. You can add the rest later.
Your toolkit
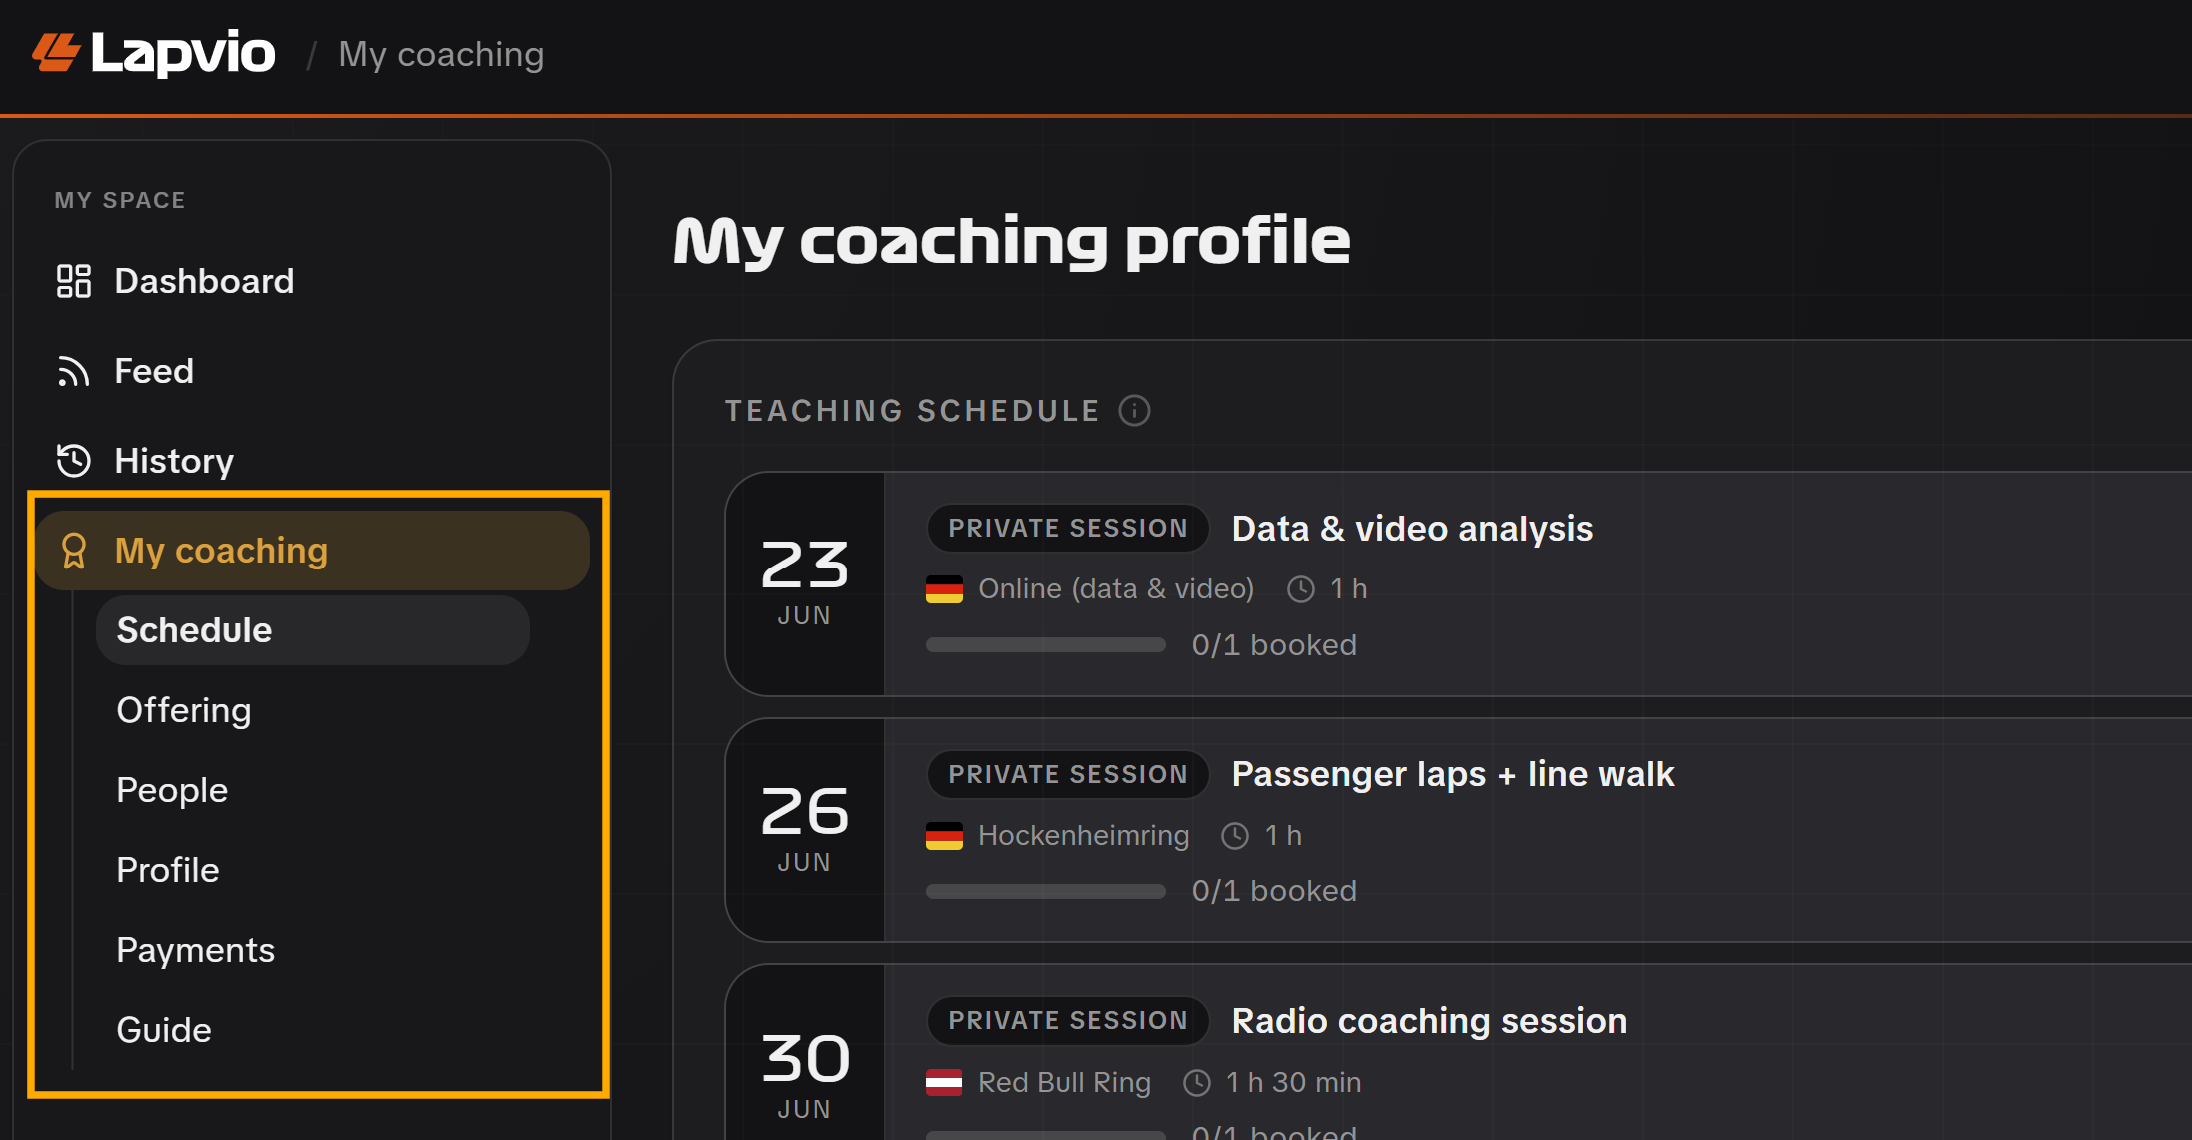
Once you're active, a gold-accented coaching menu appears in the sidebar. Five sections, each one tool:
| Section | What it's for |
|---|---|
| Schedule | Your booked agenda. Who's coming, by date, with their contact details |
| Offering | What you sell: session types, bookable dates, and the trackdays you attend |
| People | Everyone who's booked or messaged you. Contacts, history, and private notes |
| Profile | Your public storefront: bio, FAQ, photos and video, and reviews |
| Payments | Connect Stripe, see your earnings, and manage orders and refunds |
There's also a quick cockpit on your main dashboard (Cockpit). Share an update, glance at this month's earnings, and see your next session. Without opening the full workspace.
A sensible order to set up
If you're starting from scratch, this is the path that gets you bookable fastest:
- Build your profile. Bio, photo, languages, circuits and credentials. This is what drivers see. (Profile)
- Add your session types. What you offer and the price, e.g. radio coaching or a data debrief. (Offering → Sessions)
- Connect Stripe, so you can actually take payments. (Payments)
- Publish dates. Pin priced, bookable slots to circuits or events. (Offering → Availability)
- Go visible. Flip your listing on so drivers can find you in the catalog.
Payments before dates
You can publish dates before connecting Stripe, but they only go bookable once charges are switched on. Connect Stripe first and your slots are live the moment you publish them.
Going live in the catalog
Approval doesn't automatically list you. You control when you appear. At the top of your Profile there's a visibility switch:
- Visible in catalog. Drivers can find and contact you.
- Hidden from catalog. You're not listed publicly, but existing links still work.
Use Hide my listing / Show my listing to flip it, and View my public profile to see exactly what drivers see.
No rush to go visible
It's fine to stay hidden while you fill things in. Your public page already works on its direct link, so you can preview and share it before you ever appear in the catalog.